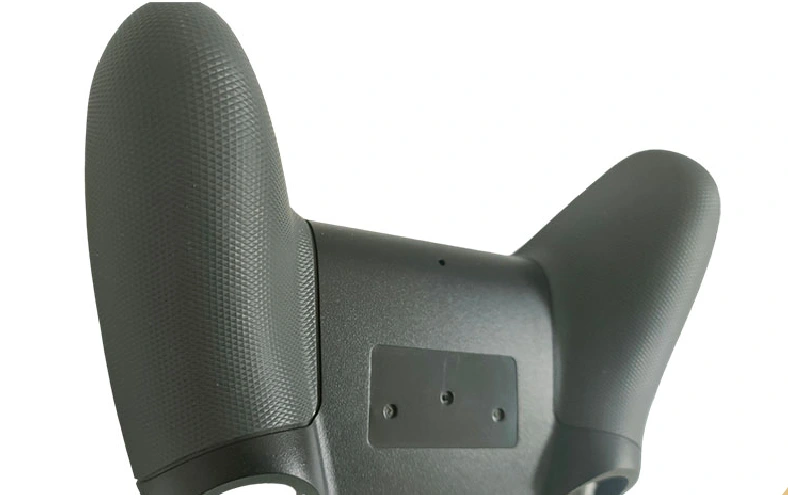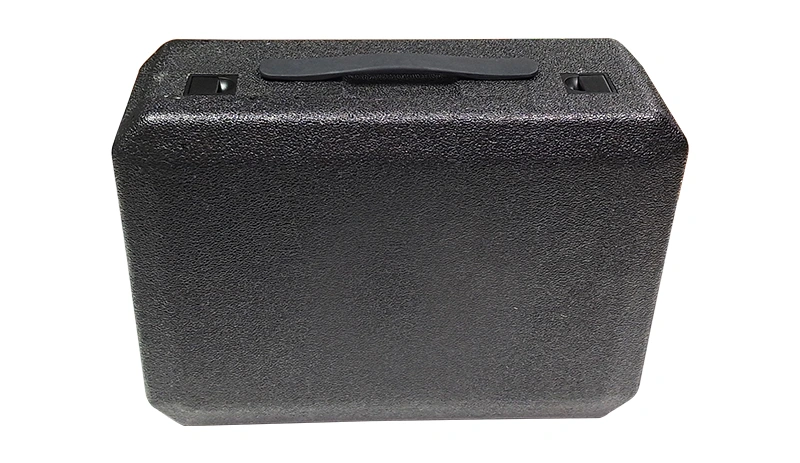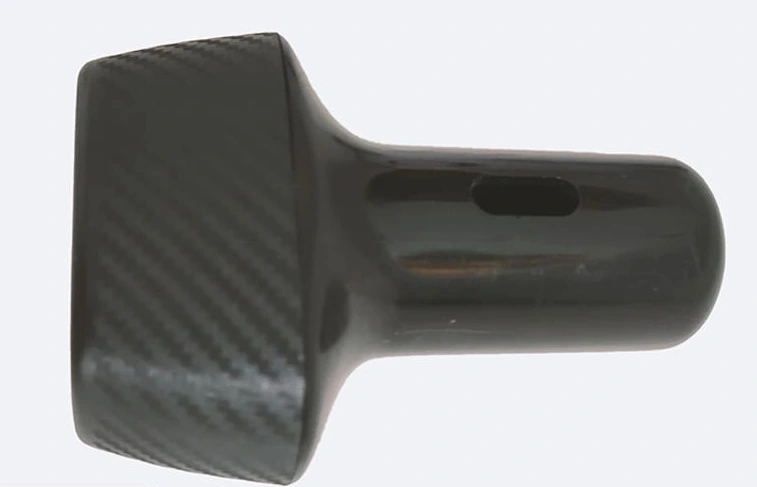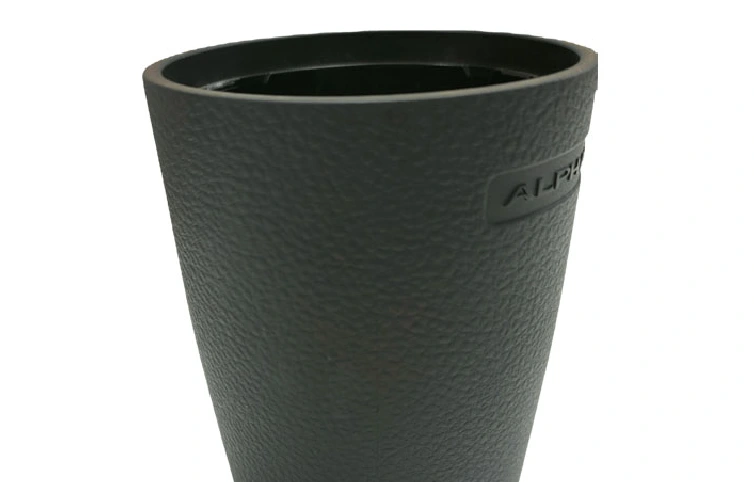
Texturing is a chemical process that creates patterns on metal surfaces — everything from stripes and wood grain to leather grain, silk, and 3D textures. Sandblasting is another method that directly sprays glass sand onto the metal surface.
The applications are broad: plastic mold textures (leather, wood, fabric, 3D), electronics housings (TVs, phones, car interiors), roller textures, shoe soles, stainless steel etching, die-casting mold etching, and embossed logos.
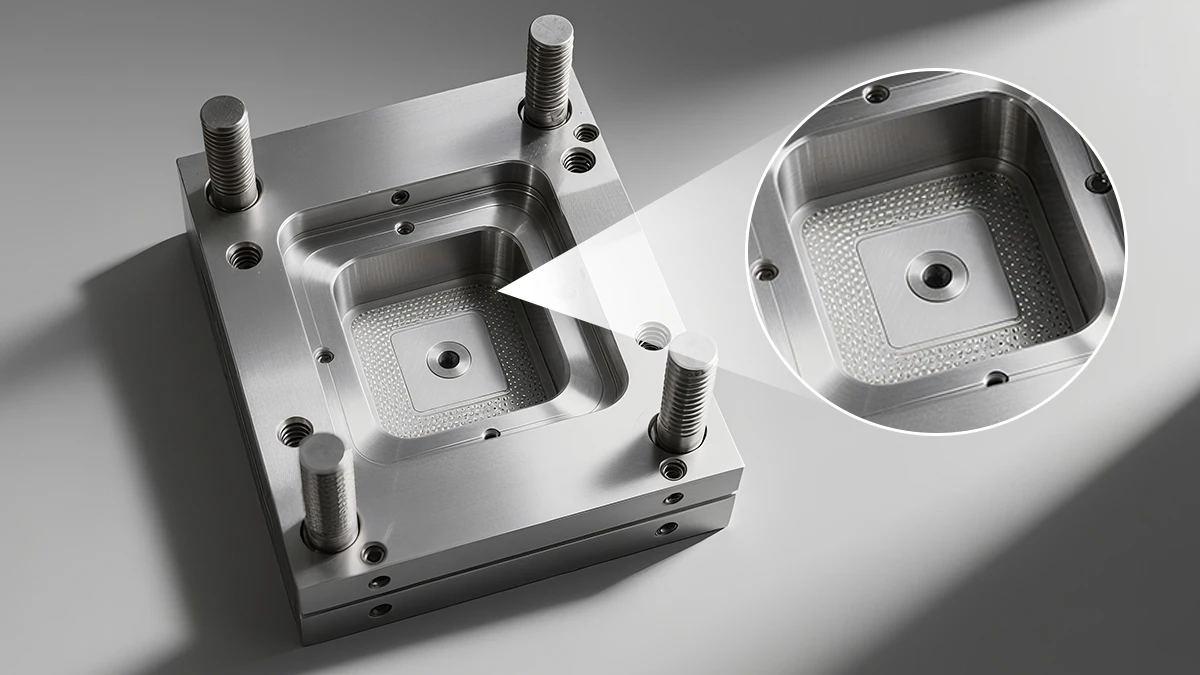
The shallowest etching depth is 2µm — commonly used on acrylic display windows to prevent glare. The deepest is 3mm, imitating marble for bathroom tiles. Precision plastic mold texturing (also called mold etching) is widely used because it’s cost-effective, produces rich visual effects, and processes quickly.
What Is Precision Plastic Mold Texturing?
Precision plastic mold texturing is a surface treatment process for molds. The principle is simple: chemical solutions (like hydrochloric acid) react with the steel surface, and controlling that reaction creates different visual effects.
How Etching Evolved
As plastic products became more common in daily life, people wanted them to look like something other than plastic. So etching techniques for mold decoration gained popularity.
Early days: Rough textures used mainly to hide molding defects.
Middle phase: More variety — single-layer leather and wood grain textures became common.
Today: 3D geometric textures are the norm. Laser technology with 0.01mm precision has made patterns far more refined and realistic.
Why Texture a Mold?
- Better aesthetics — gives plastic parts a premium look and feel.
- Covers up surface defects like sink marks and weld lines.
- Increases surface hardness (after texturing and sandblasting), which helps prevent scratches.
- Adds anti-slip grip and a matte finish that reduces glare and eye fatigue.
Material Selection for Textured Molds
Common choices are NAK80, SKD61, 8407, and S136. Each behaves differently with etching:
- NAK80 (36-38 HRC): Etches beautifully in one pass, but prone to rust and wear. Lasts about 30,000 cycles.
- SKD61 (48-50 HRC): Longer lifespan, can be etched in two passes. Typically 100,000 cycles.
- 8407 or S136 (50-52 HRC): Good etching results, higher hardness, two-pass etching. Lasts about 200,000 cycles.
Types of Texturing
Texturing covers a lot of ground: stone, sand, leather, wood, fabric, 3D patterns, electronics housings, shoe soles, stainless steel, die-casting etching, embossed logos, and sandblasting. The most common in mold work are stone and sand textures.
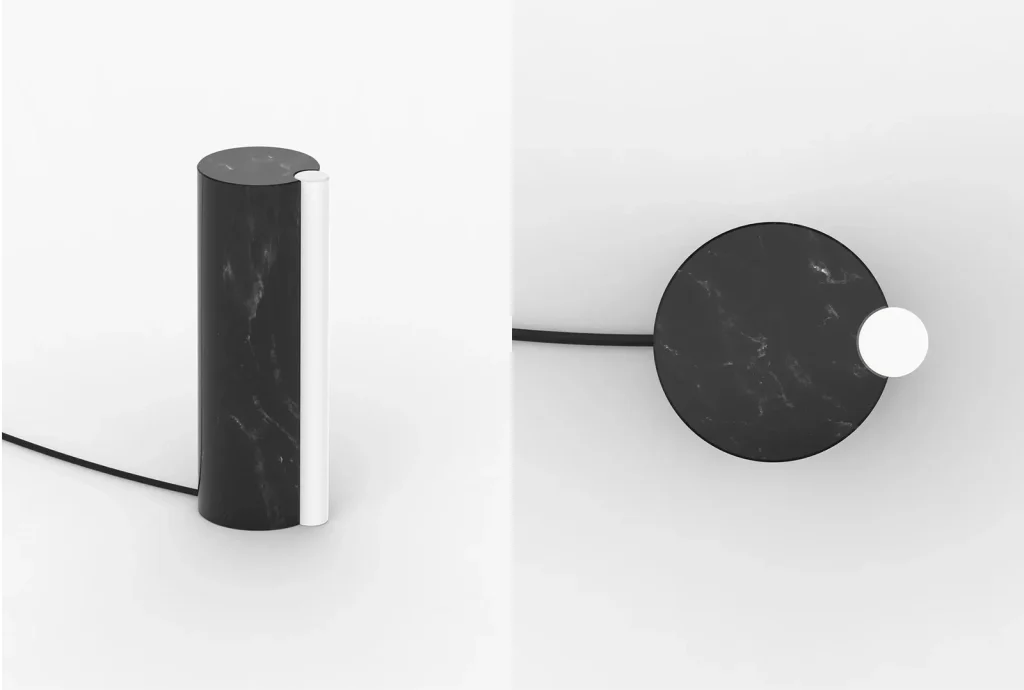
Stone Texture
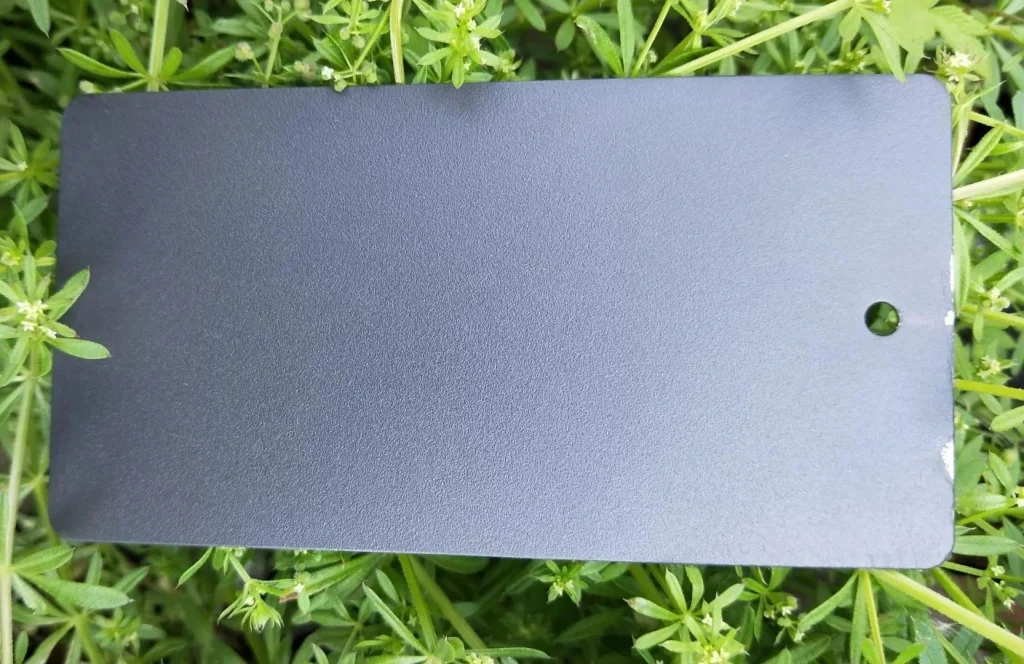
Sand Texture
Chemical Texturing Process
The full sequence: Degrease and clean → Mask → Chemical inspect → Surface treat → Print pattern → Repair → Chemical etch → Surface treat → QC → Rust prevent → Package
1. Degreasing and Cleaning
Use a specialty mold cleaner to remove oil and impurities. If oil residue stays on the surface, the chemical etching won’t be uniform. After cleaning, protect critical surfaces immediately — typically spray black paint on mirror surfaces to guard against rust and scratches.
2. Masking
Use special tape to cover areas that don’t need etching (at least three layers). Seal the boundary between textured and non-textured areas with wax. When the boundary is a radius, keep it as small as possible — ideally no more than R0.5mm.
3. Chemical Inspection
Soak the masked mold in chemical solution for a few seconds. Unmasked surfaces corrode by 0.01-0.02mm and turn black. This reveals material inconsistencies, hardness variations, sand holes, and welding marks — they show up as different depths and colors.
4. Sand Washing
Spray sand particles evenly on the corroded surface to remove the black oxide layer. After sand washing, the surface becomes silvery white.
5. Printing the Pattern
Three methods: pattern printing (good for irregular contours like leather grain on auto interiors), film application (for patterns with clear, regular contours like 3D textures), or spray pattern (for patterns with no contour requirements like MT11010/MT11030).
6. Chemical Etching
Soak the patterned mold in prepared chemical solution. The etching depth depends on soak time. The surface turns black during etching.
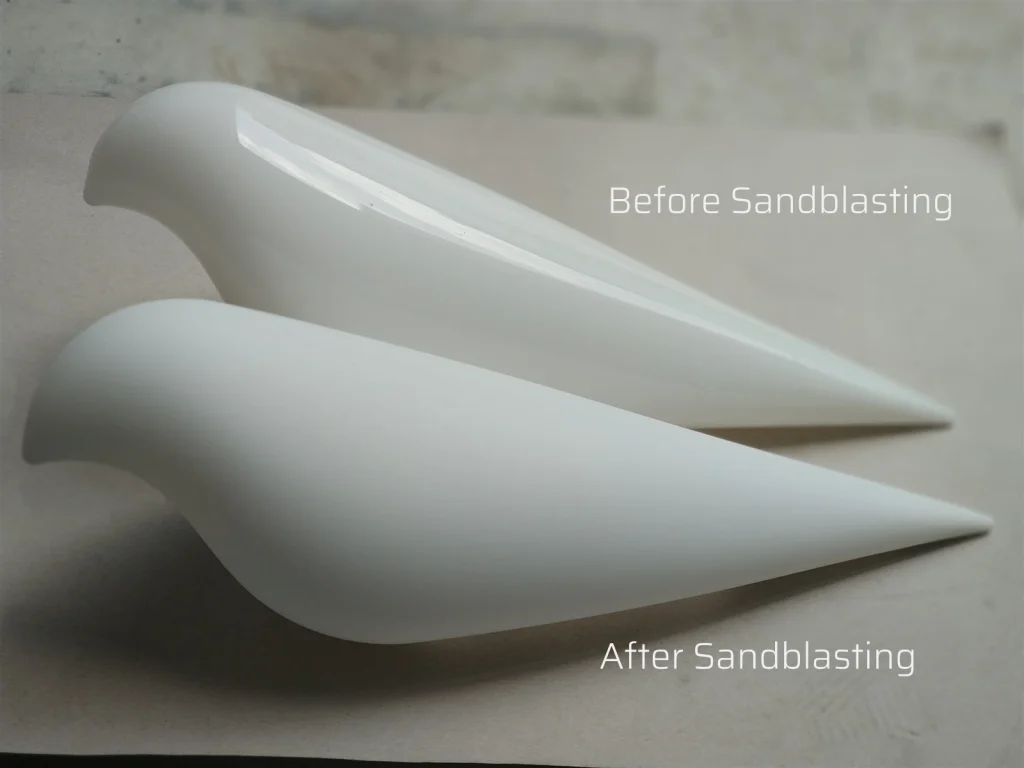
7. Sandblasting
Spray sand particles under high-pressure air to create small pits on the surface. Sandblasting produces a texture, but it doesn’t last as long as chemical etching.
Laser Texturing
Laser texturing is simpler: degrease → draw → sample → laser process → gloss treat → QC → rust prevent → package. A laser beam creates the pattern directly on the metal surface, no chemicals involved.
Chemical vs. Laser Texturing
| Aspect | Chemical | Laser |
|---|---|---|
| Environmental | Uses chemicals, not eco-friendly | No chemicals, eco-friendly |
| Precision | Poor, causes side etching and jagged edges | High, repeatable and consistent |
| Surface quality | Rough, 3-5 layers max | Fine, up to 30-50 layers, strong 3D effect |
| Material requirements | High — sensitive to material type | Low — works on most metals |
| Complex surfaces | Hard to apply on curves | Works on curves, slopes, spheres |
| Process | Long route, large area needed | Short route, compact area needed |
Common Issues and Solutions
Rough cavity surfaces after etching can cause sticking, especially where draft angles are small. Polish the etched surface, reduce etching depth, eliminate sharp angles, and use mold release agents. Increasing draft angles and adding ejector pins in problem areas also helps.
Design Requirements for Texture
- Deeper textures need bigger draft angles (typically 5-8 degrees).
- For glossy areas, design artistic lines or embossed steps to prevent jagged edges at texture boundaries.
- Etching depth ranges from 2µm to 3mm depending on visual and tactile needs.
- The result depends heavily on mold material — choose accordingly.
- Process time: simple spark textures 1.5-2 days, horizontal/vertical/circular 3-4 days, complex deep textures at least 5 days.
Textured Mold Products